Snowman Bookmark Craft
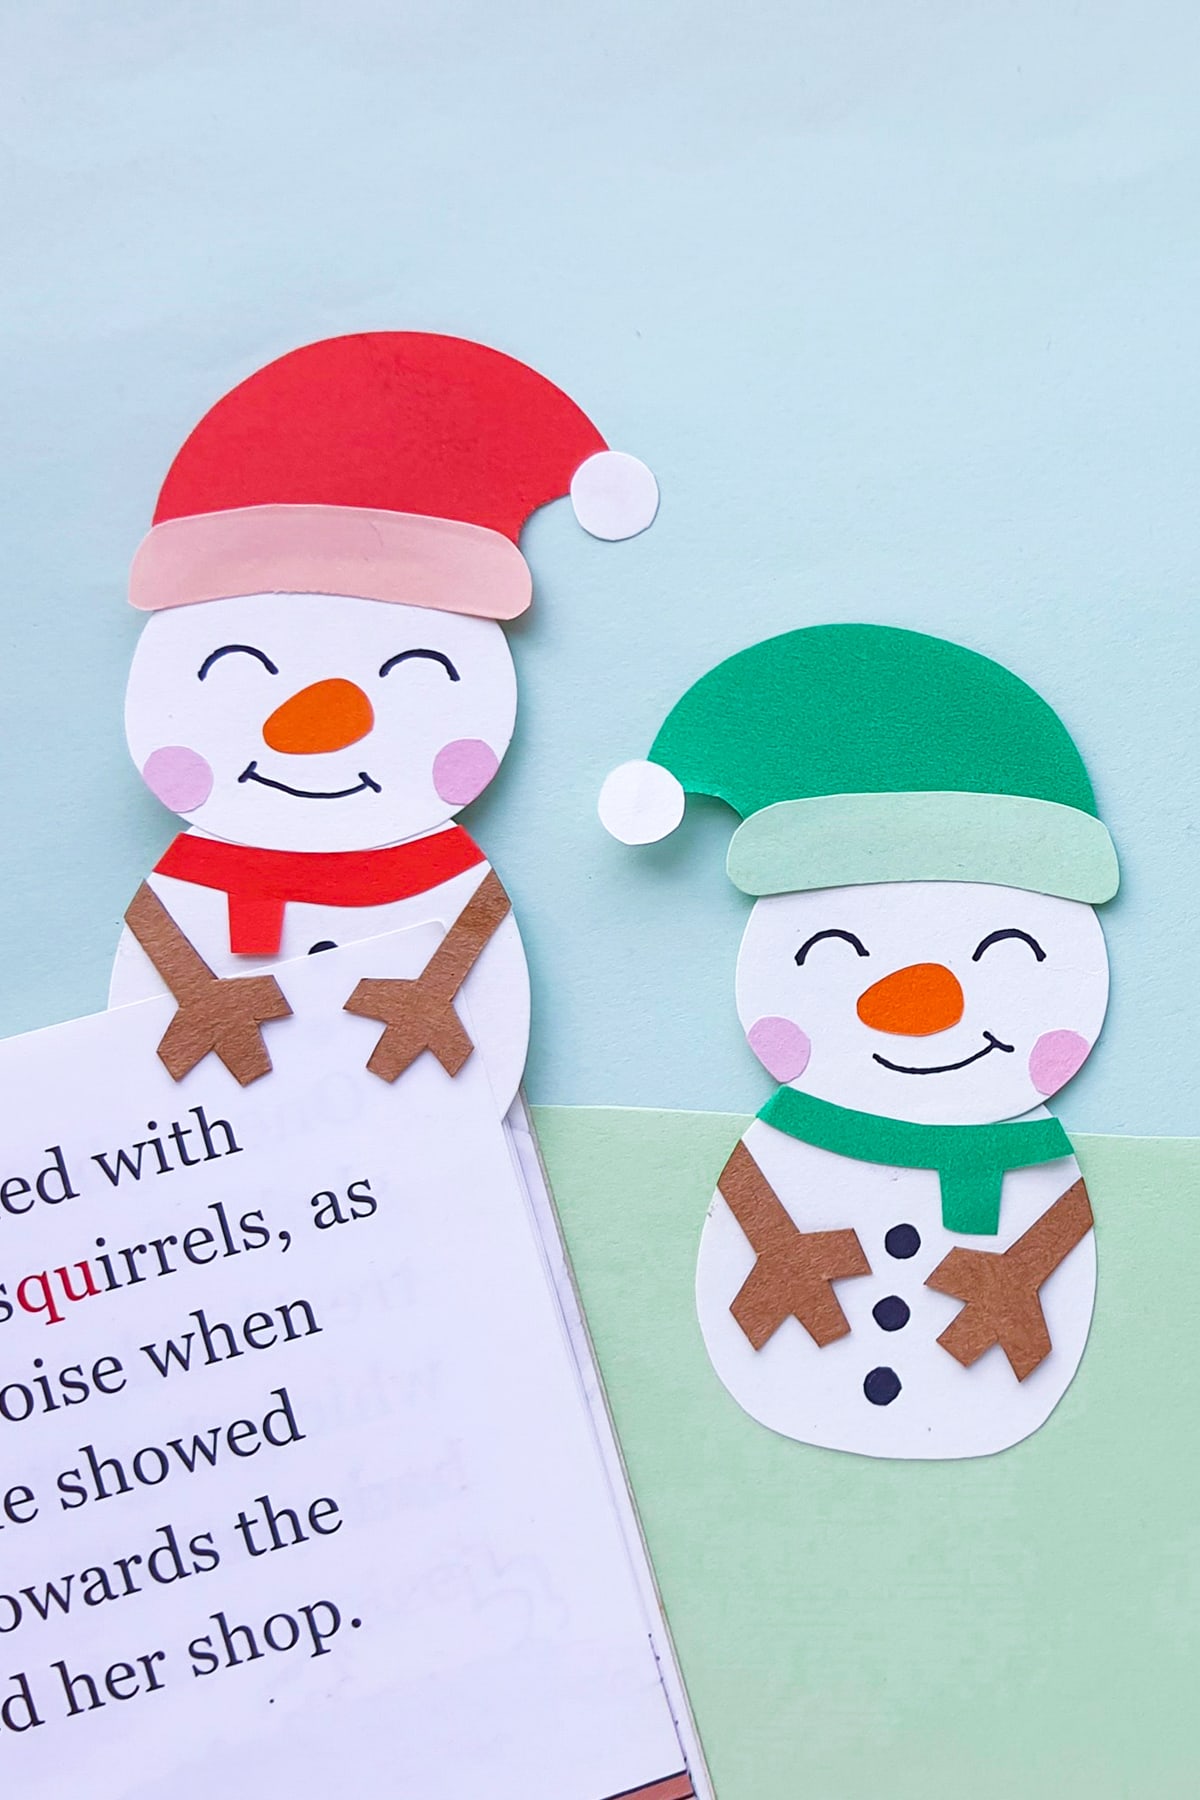
Make a paper snowman whose arms gently hold your place in a winter story.
What you’ll need
The printable template, colored paper, a pencil, scissors, craft glue, and a black marker. Cardstock works well for a sturdy bookmark or backing strip.
Your printable
This one-page PDF contains the pattern pieces for the craft. Use it to trace shapes onto colored paper, or color the printed pieces before cutting them out.
Make your bookmark
1. Trace and cut the snowman pieces from white paper, with colored paper for the hat, scarf, arms, cheeks, and nose.
2. Assemble the three hat pieces. Join the head and body, then add the face details, hat, and scarf.
3. Glue only the upper ends of the arms to the sides of the body. Leave the rest loose so a book page can slide underneath.
A little extra fun
Draw buttons down the snowman or add a pattern to its scarf.
Printing and crafting tips
Print one test copy and check the size against your book before preparing a group set. Keep the bookmark flat, let all glue dry before using it, and ask an adult to help with small pieces or tricky cuts.
See the step-by-step photos and full craft instructions on Mommy Made That.
For personal or classroom use only. Please do not resell or redistribute the file.
Get your printable
Get this printable and access to the printable library with a yearly membership.
Renews annually. Cancel anytime to stop your next renewal.
Already a member? Log in here.