3D Paper Apple Craft
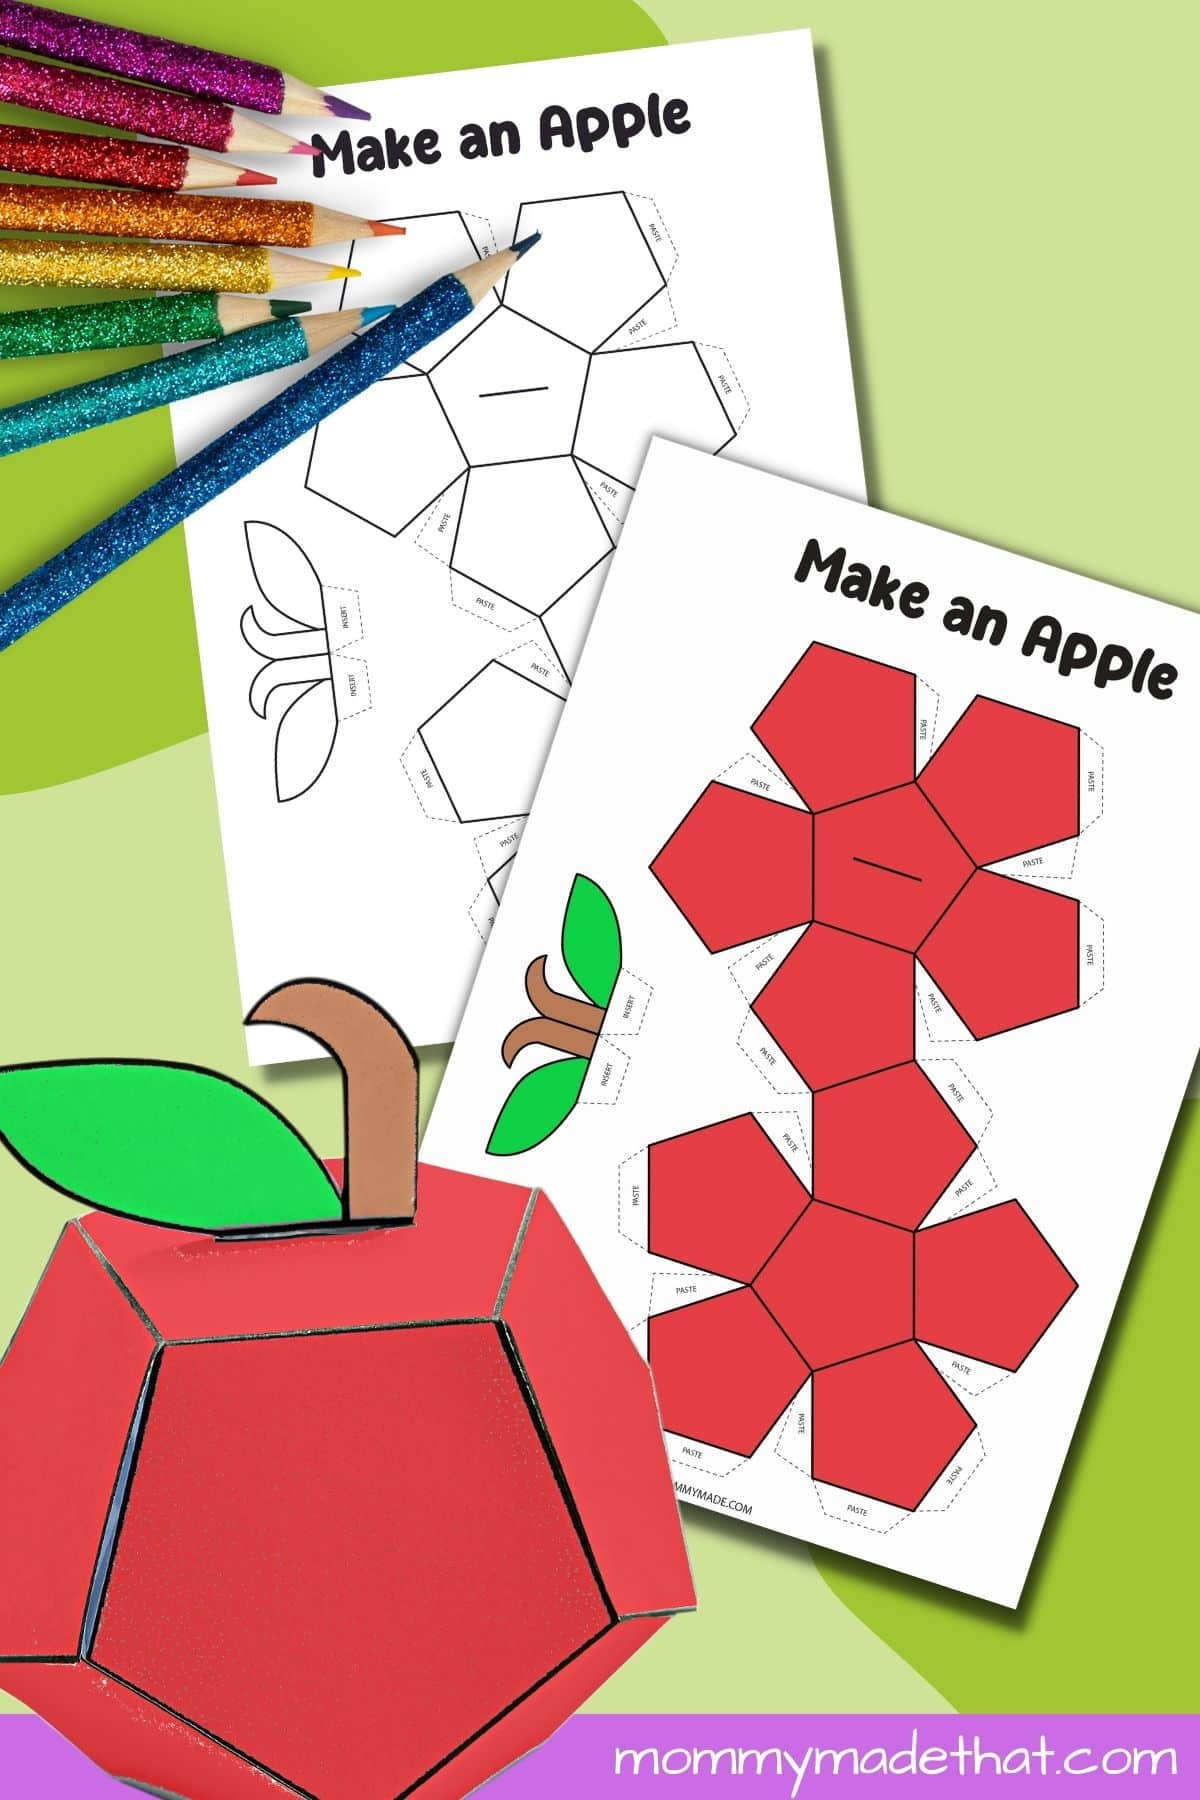
Fold a flat paper template into a little 3D apple for a fall display or an apple-themed lesson.
What you’ll need
Paper or light cardstock, scissors, glue, and crayons or markers for the outline version.
Your printable
This PDF includes 2 pages. Select the pages you need in your printer settings.
How to make your craft
1. Choose the colored or black-and-white page. Color first, then cut around the outside of the apple net, keeping all glue tabs.
2. Crease the edges between the panels and fold the tabs inward. Add glue to the tabs and join the neighboring edges to form the apple.
3. Prepare the stem and leaf piece and secure it at the marked top slit. Let the glue dry before displaying your apple.
Top tips
An adult can help open the small top slit. Fold the panels before gluing, and attach the stem before closing the final panels if that makes it easier.
Printing tips
Check the print preview and use Fit to Page if an edge is clipped. Print one test copy before preparing a group set. An adult can help with scissors and small pieces.
See the full instructions and more ideas on Mommy Made That.
For personal or classroom use only. Please do not resell or redistribute the file.
Get your printable
Get this printable and access to the printable library with a yearly membership.
Renews annually. Cancel anytime to stop your next renewal.
Already a member? Log in here.