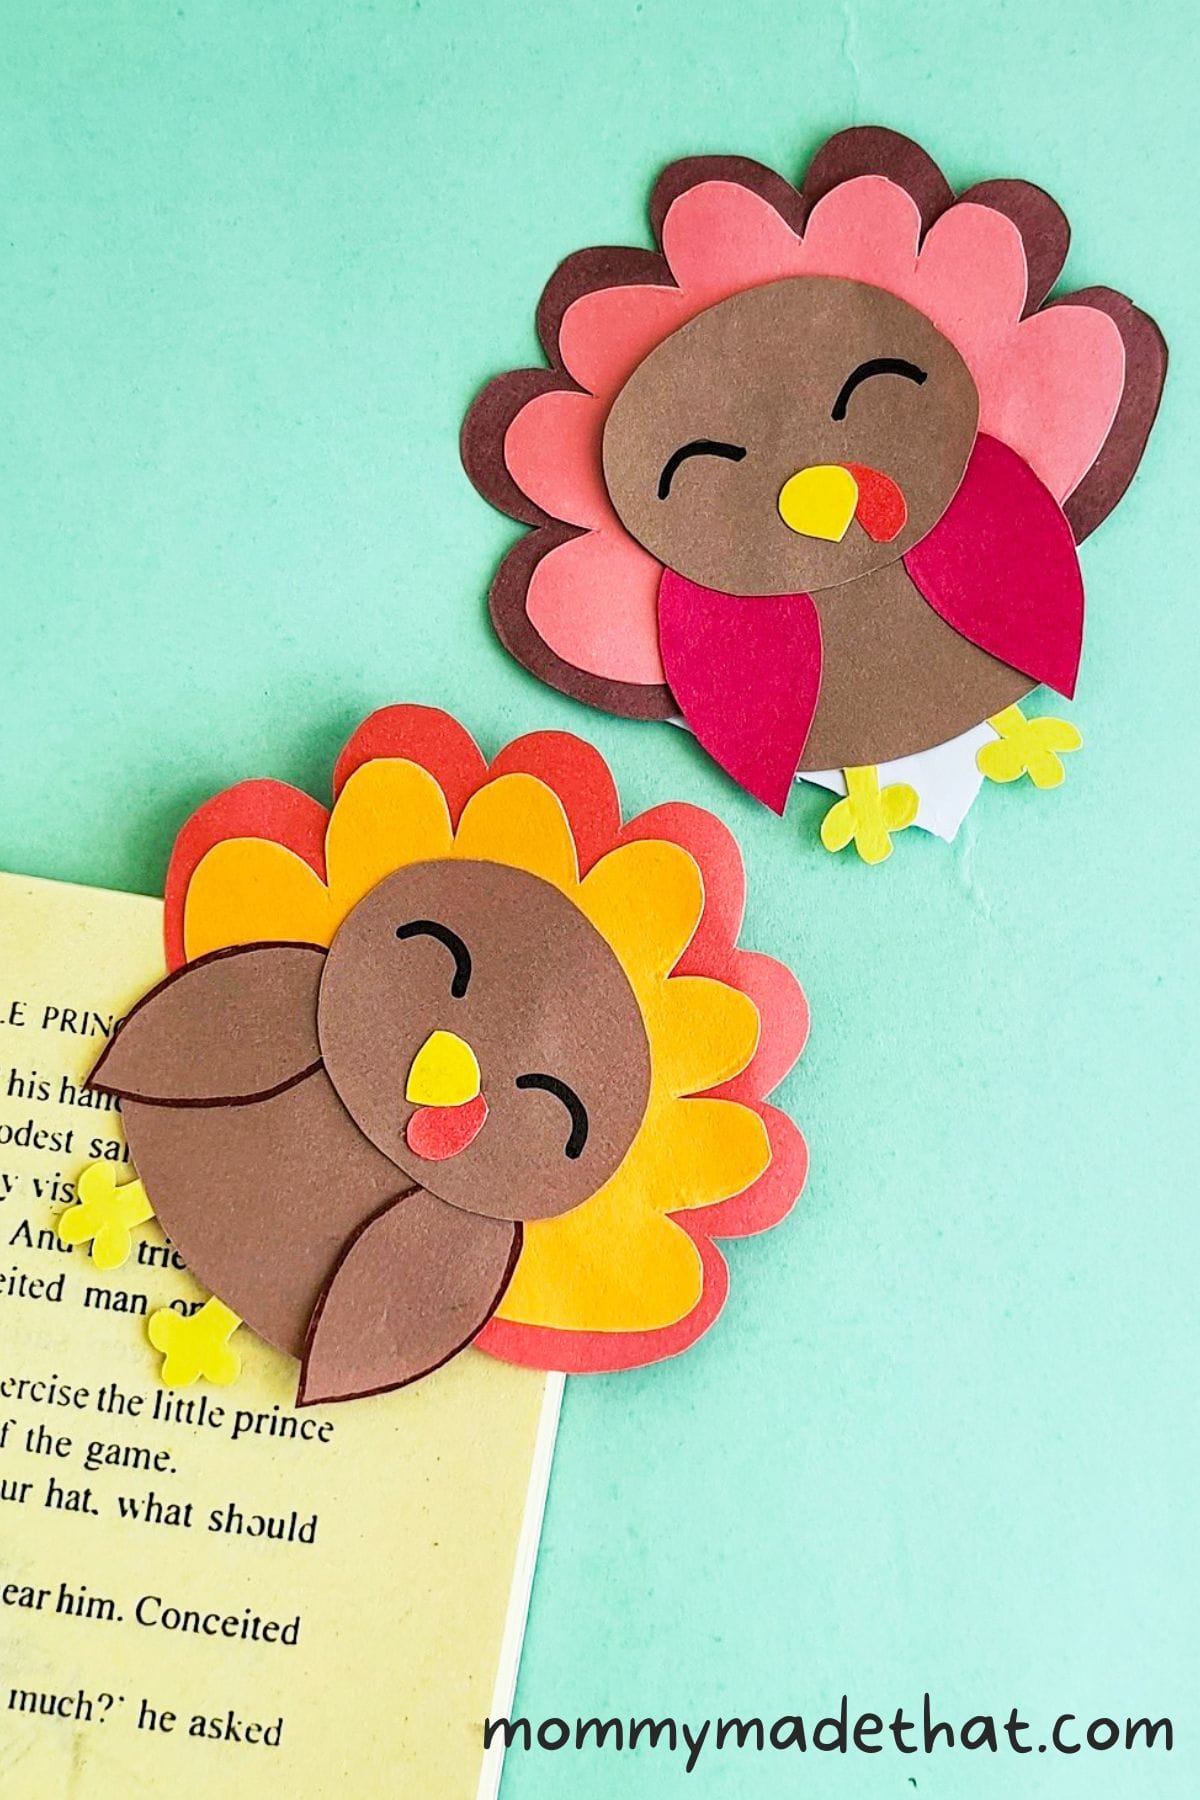
Turkey Corner Bookmark
Create a paper turkey with a colorful tail to mark your place in a favorite fall book.
What you’ll need
The printable template, colored paper, a pencil, scissors, craft glue, and a black marker. You will also need a square of paper for the corner pocket.
Your printable
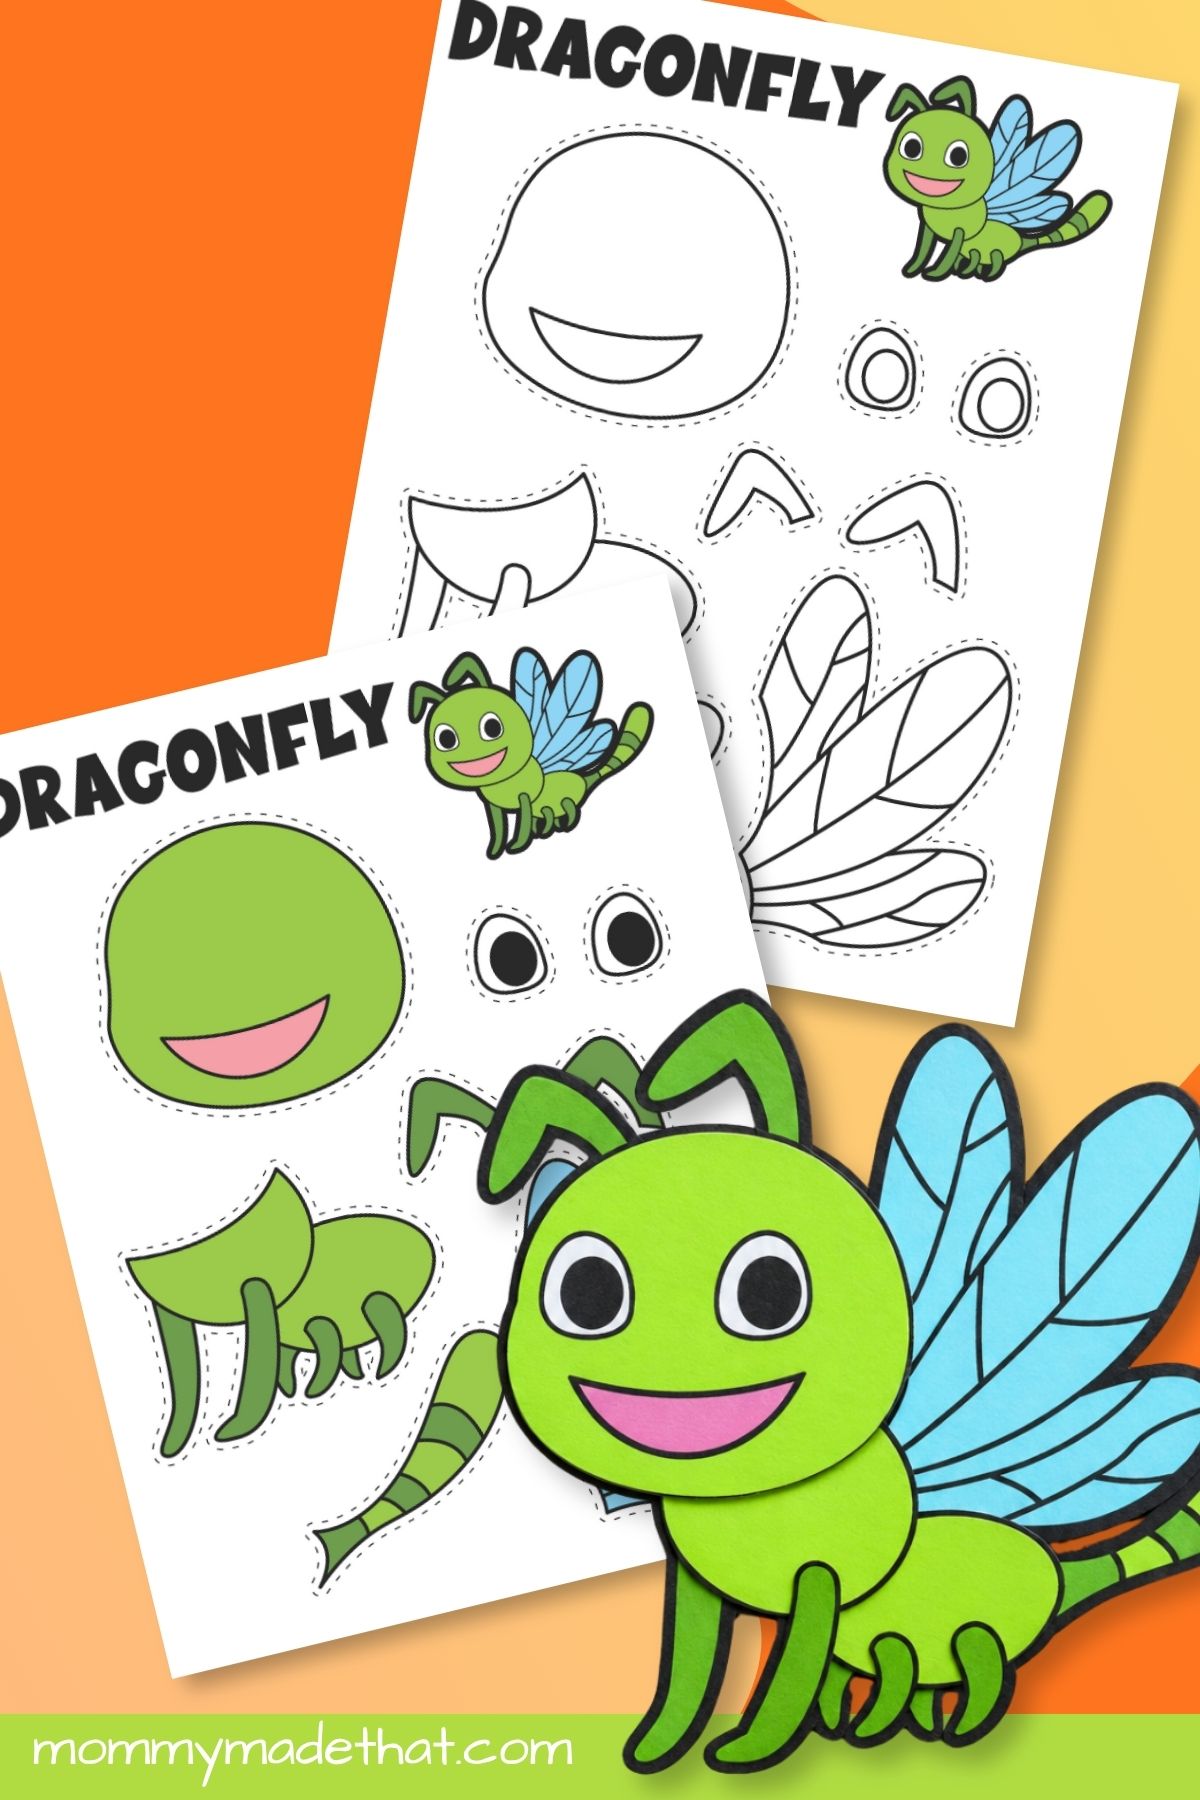
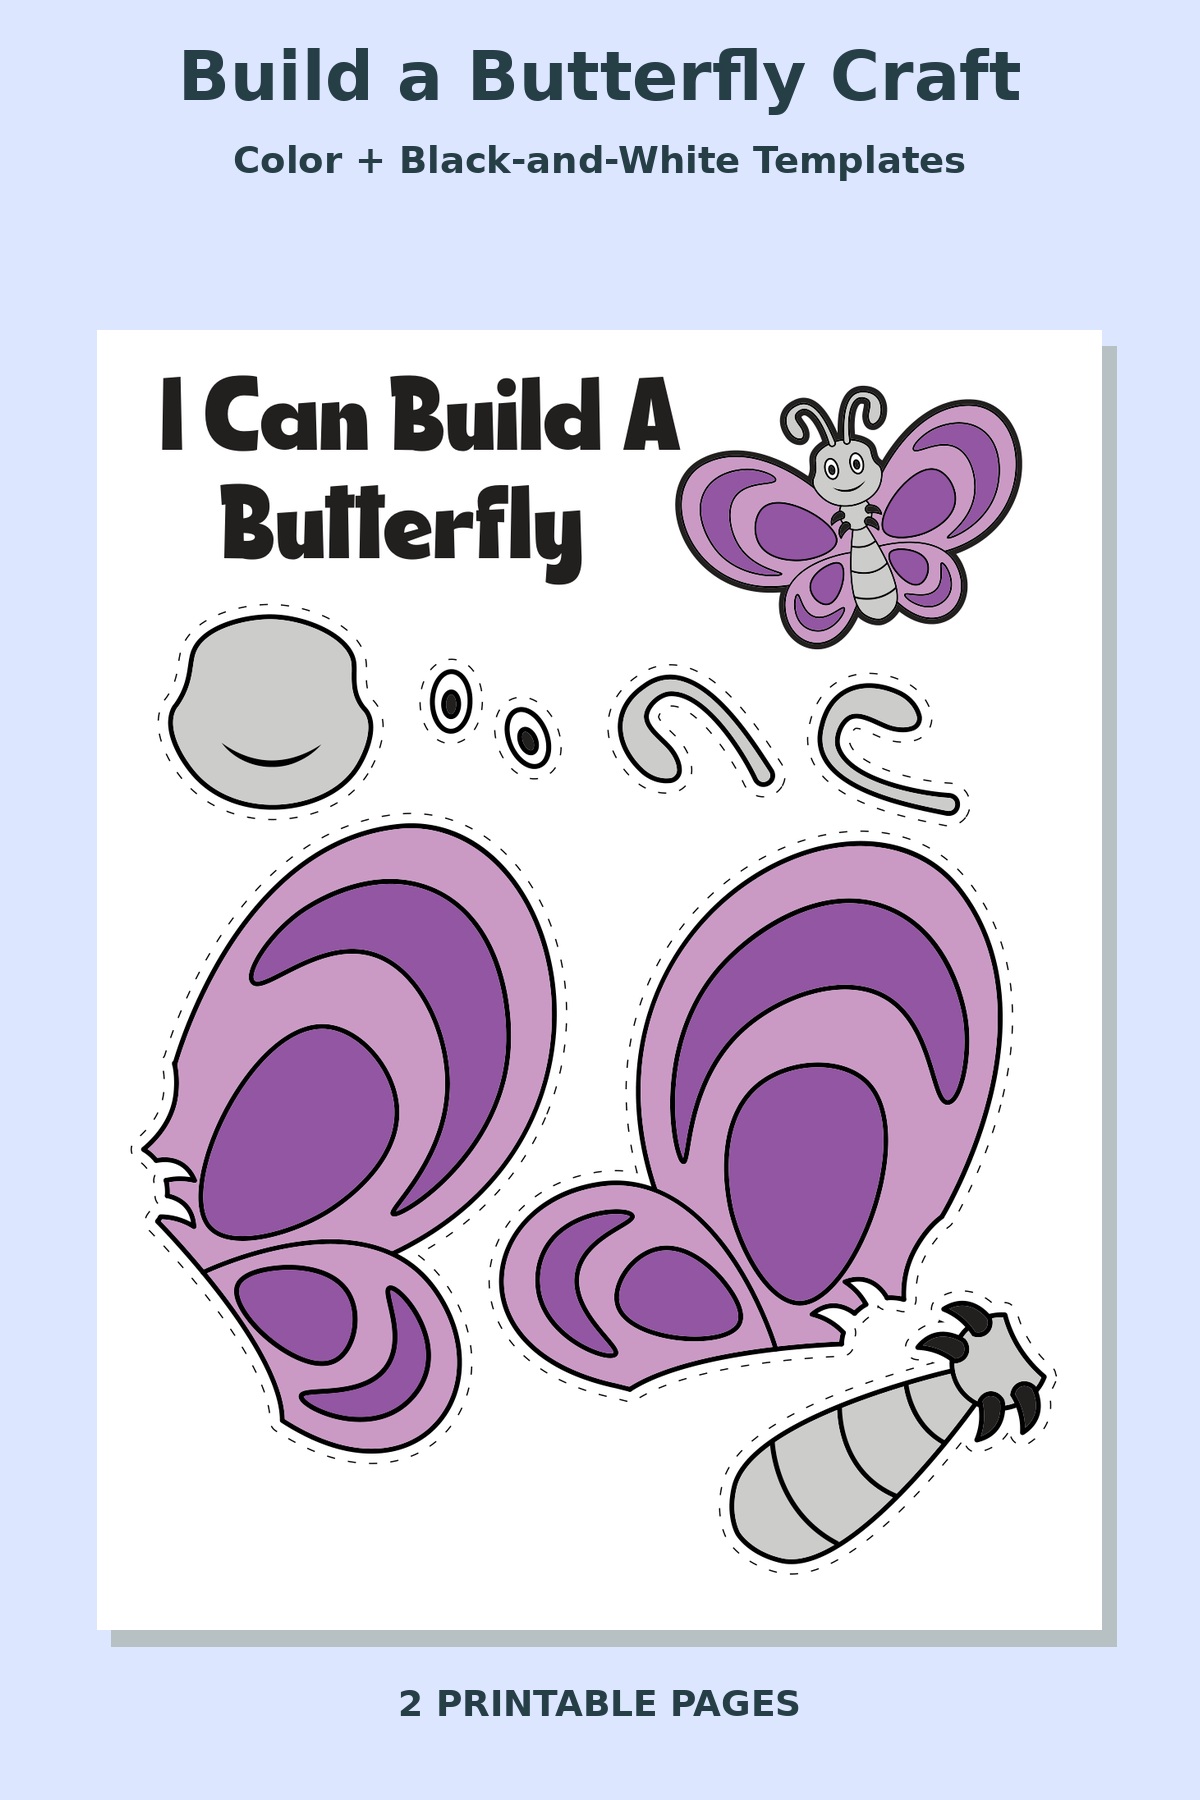
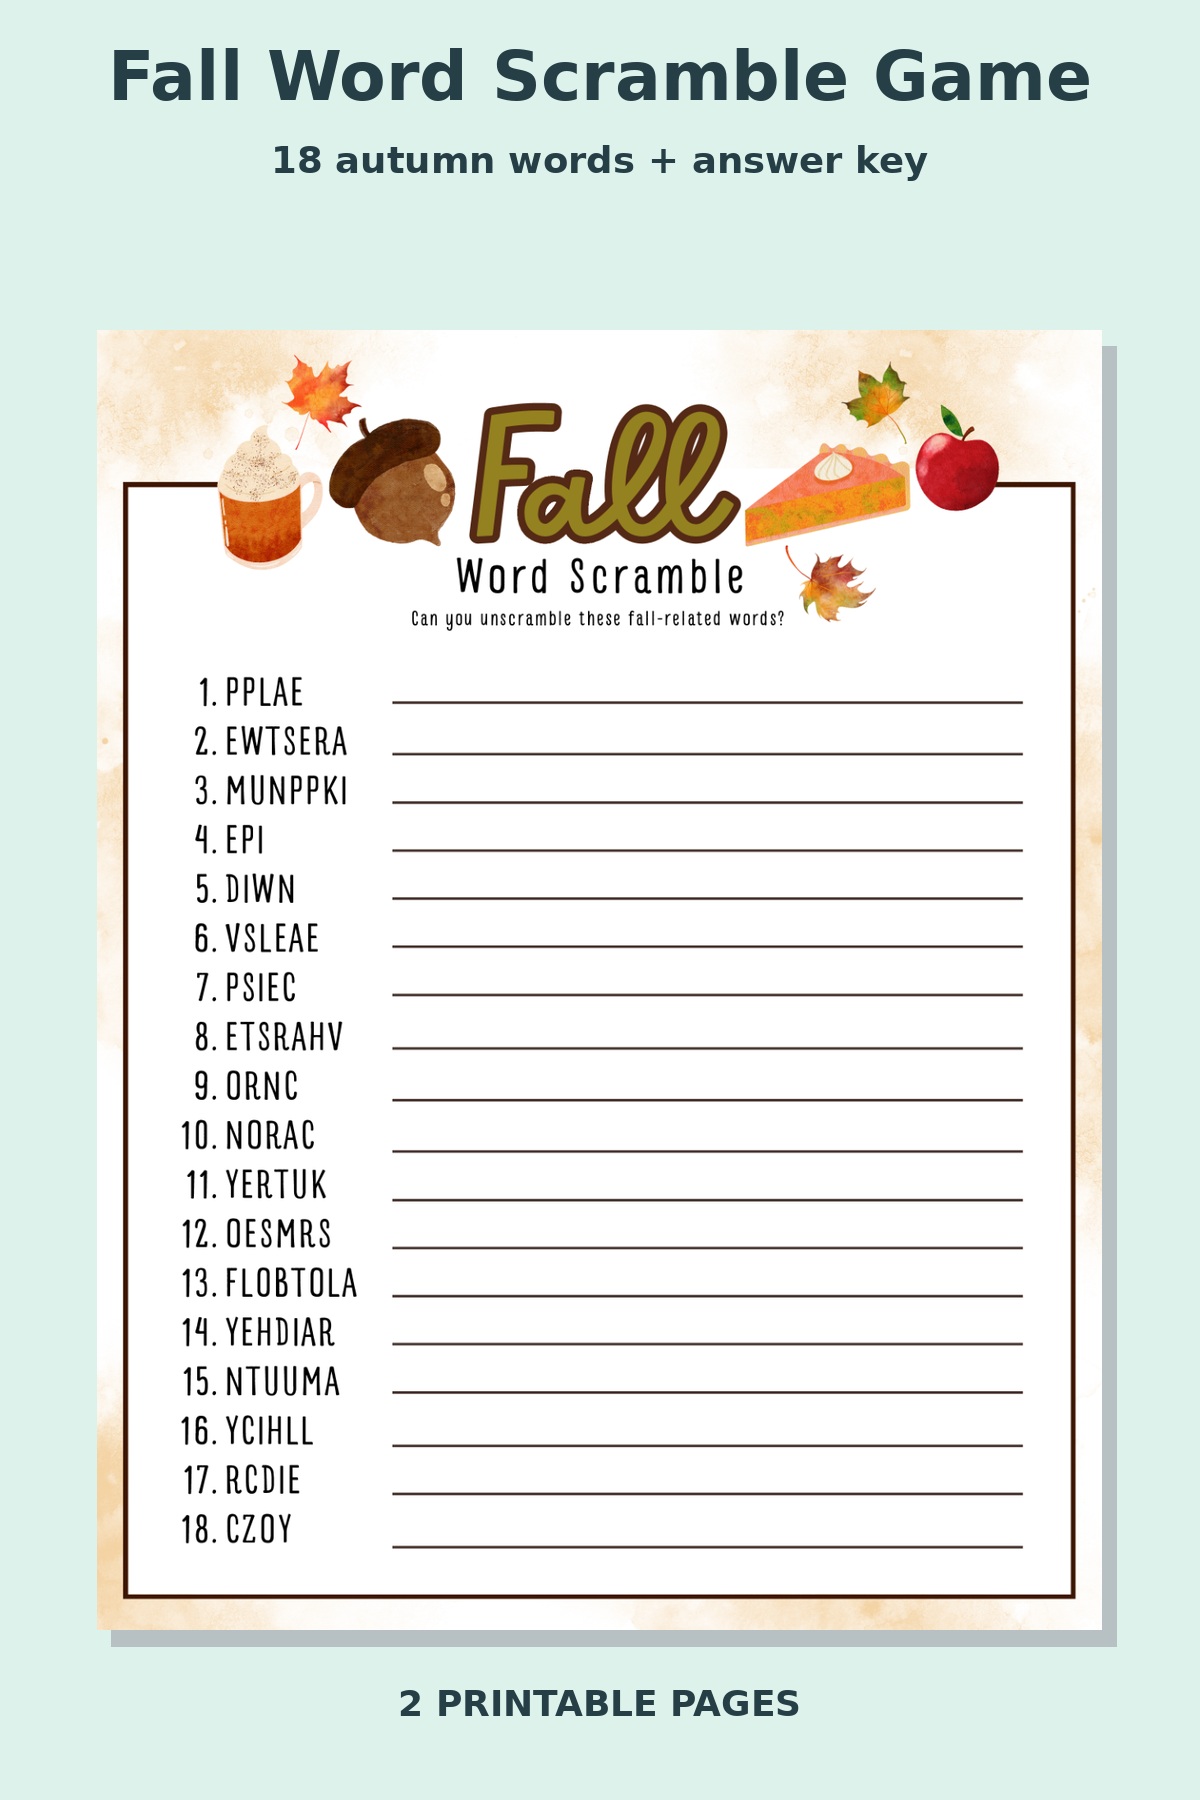
This one-page PDF contains the pattern pieces for the craft. Use it to trace shapes onto colored paper, or color the printed pieces before cutting them out.
Make your bookmark
1. Trace and cut the turkey pieces from colored paper. Layer the smaller tail fan over the larger fan.
2. Assemble the body, feet, head, wings, beak, and wattle. Attach the turkey to its tail and draw the face.
3. Fold a corner pocket using the steps below. Glue the turkey onto its front and leave the pocket opening clear.
Fold the corner pocket
Start with a square of paper and fold it diagonally into a triangle, with the folded edge at the bottom. Fold the left and right corners up to meet the top point, then unfold those two corners.
Fold just the top layer of the top point down to the middle of the bottom edge. Fold the left and right corners back up, then tuck each into the pocket behind that folded layer. Press the creases flat and check that a book corner fits inside.
A little extra fun
Choose a fall story to read together when the bookmark has dried.
Printing and crafting tips
Print one test copy and check the size against your book before preparing a group set. Keep the bookmark flat, let all glue dry before using it, and ask an adult to help with small pieces or tricky cuts.
See the step-by-step photos and full craft instructions on Mommy Made That.
For personal or classroom use only. Please do not resell or redistribute the file.
Get your printable
Get this printable and access to the printable library with a yearly membership.
Renews annually. Cancel anytime to stop your next renewal.
Already a member? Log in here.