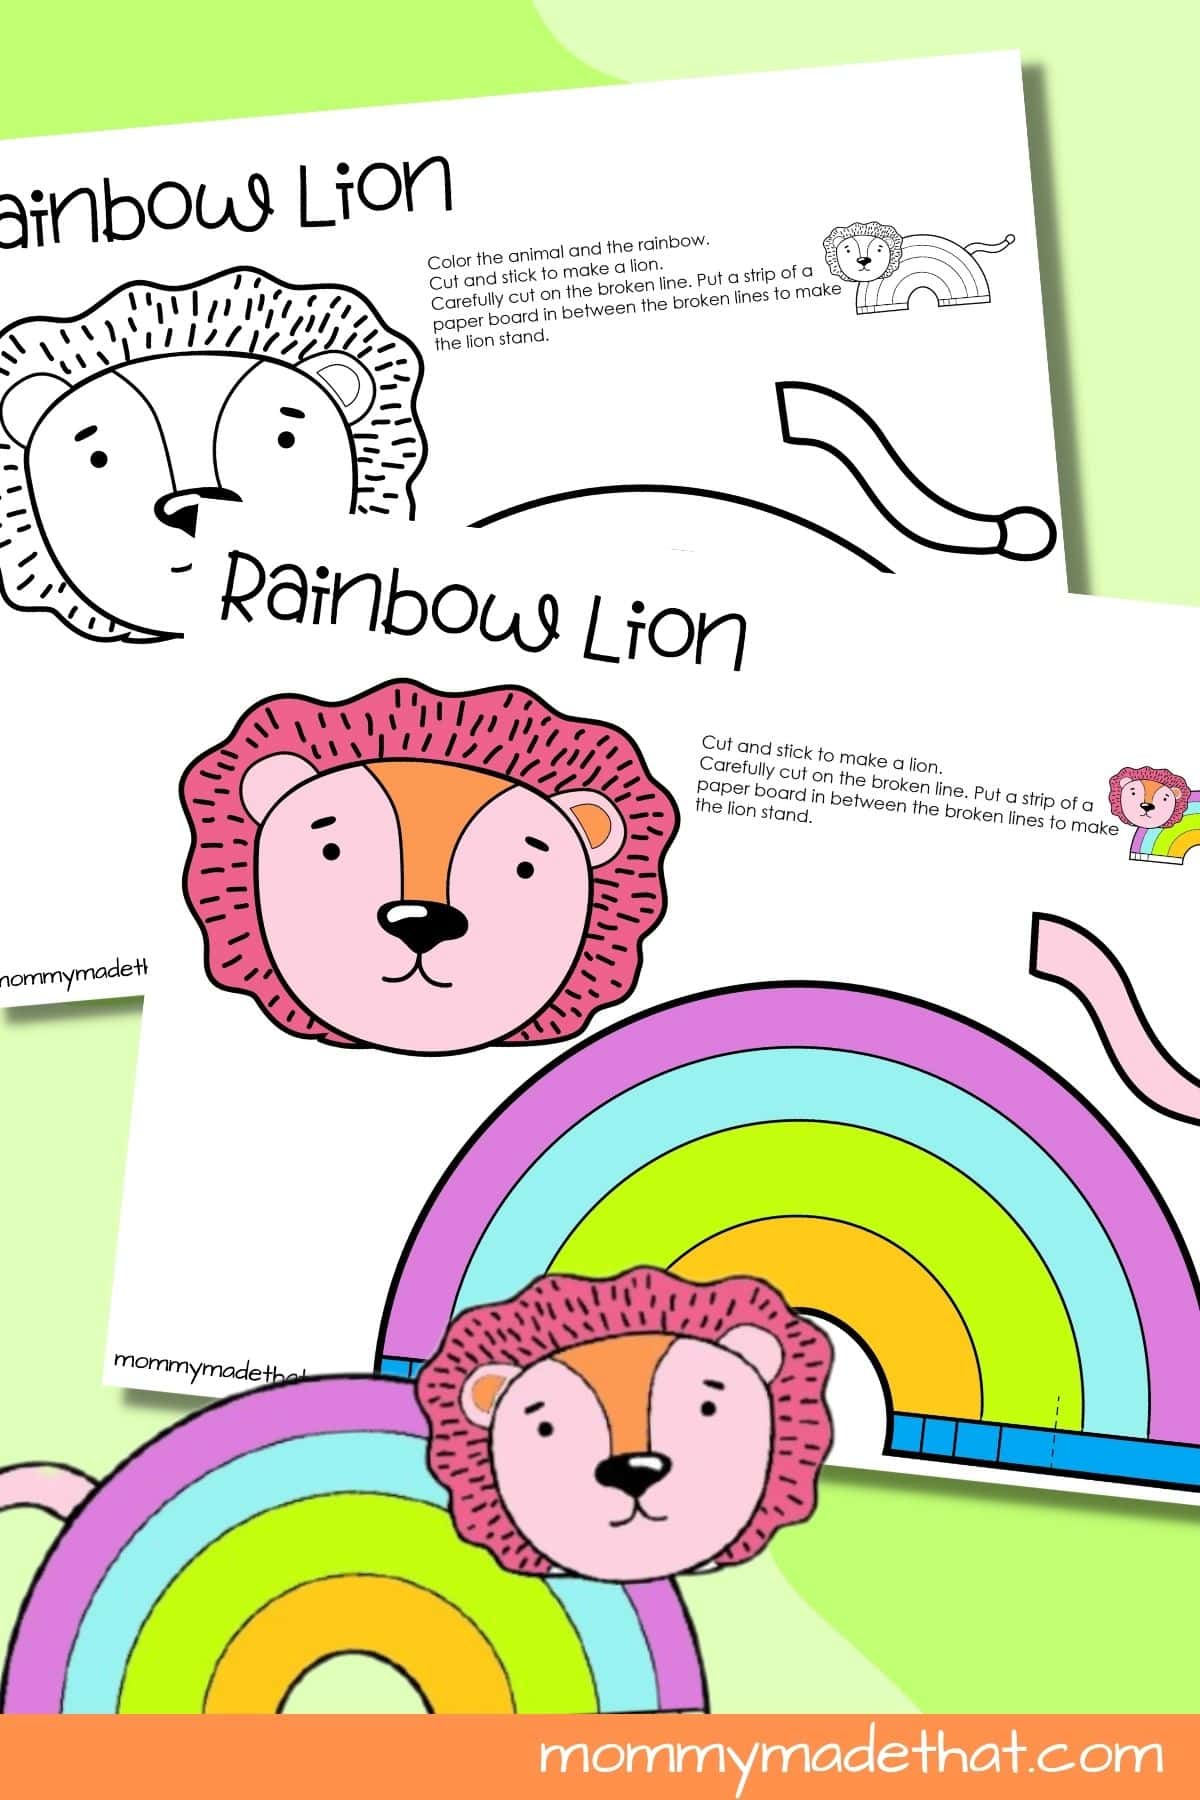
Rainbow Lion Craft
Make a lion with a rainbow-shaped body using the full-color design or a black-and-white version to decorate.
What you’ll need
Paper or cardstock, scissors, glue, and crayons or markers. Optional stiff paper strips for a standing lion.
Your printable
This PDF includes 2 pages. Select only the pages you need in your printer settings.
How to make it
1. Print your chosen page. Color the lion and rainbow before cutting if using the black-and-white version.
2. Cut out the rainbow body, lion head, and tail, then glue the head and tail onto opposite ends of the rainbow.
3. For a standing lion, have an adult help cut the marked slits at the bottom and insert stiff paper supports. Otherwise, display it flat.
A little extra fun
Try a traditional rainbow or invent your own lion colors.
Printing tips
Check the print preview and print one test copy before preparing a group set. Plain paper is useful for tracing patterns; cardstock makes sturdier cutouts and standing crafts. An adult can help with small pieces and tricky cuts.
See the step-by-step photos and full craft instructions on Mommy Made That.
For personal or classroom use only. Please do not resell or redistribute the file.
Get your printable
Get this printable and access to the printable library with a yearly membership.
Renews annually. Cancel anytime to stop your next renewal.
Already a member? Log in here.