Paper Flowers in a Watering Can
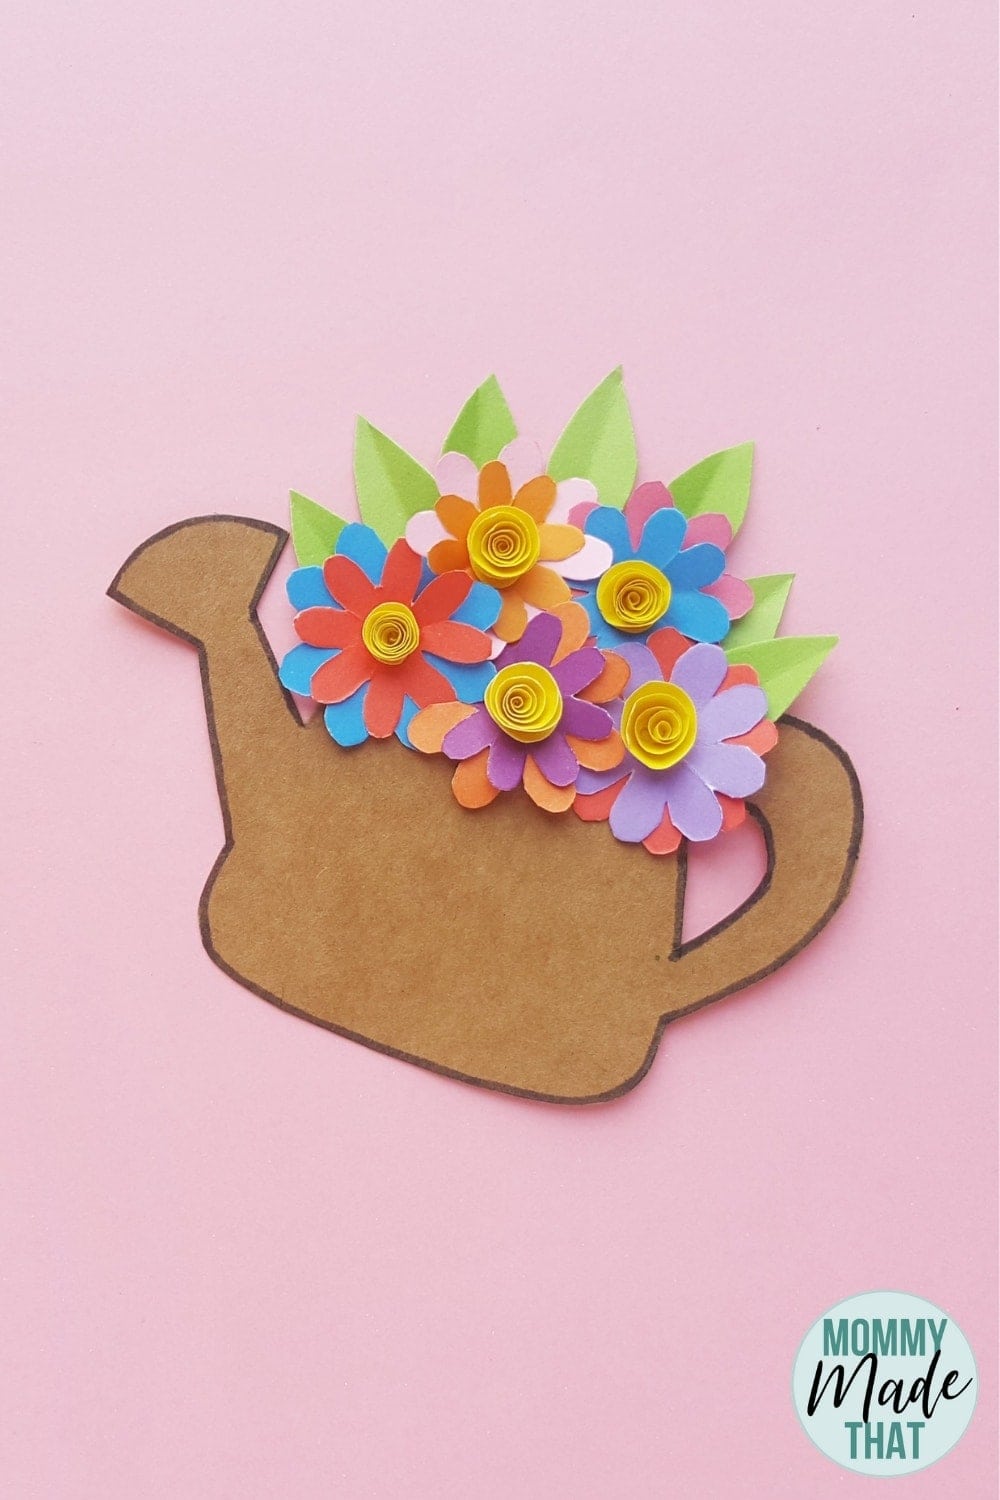
Build a paper watering can filled with layered flowers and rolled paper centers.
What you’ll need
Cardstock, colored paper, scissors, pencil, and craft glue.
Your printable
This PDF includes 1 page. Select the pages you need in your printer settings.
How to make your craft
1. Trace the watering can and semicircle onto cardstock, and the flowers, spirals, and leaves onto colored paper. Cut out the pieces.
2. Layer a smaller flower over a larger one. Roll each spiral from its outside toward the center, let it loosen slightly, and glue it to its base.
3. Attach the semicircle above the can opening. Arrange the flowers over it, then tuck leaves into the gaps and glue everything down.
Top tips
Crease the leaves down the middle. Cover the semicircle with flowers and leaves so it supports the bouquet without showing.
Printing tips
Check the print preview and use Fit to Page if an edge is clipped. Print one test copy before preparing a group set.
See the full instructions and more ideas on Mommy Made That.
For personal or classroom use only. Please do not resell or redistribute the file.
Get your printable
Get this printable and access to the printable library with a yearly membership.
Renews annually. Cancel anytime to stop your next renewal.
Already a member? Log in here.